Working with Gimp Image Editor
Hi everyone.
I thought I’d make up formy somewhat useless tutorial on using Gimp today by sketching things out for you here.
We talked about the noise issue. The problem is that when we scan images in color, some small differences in coloring on the page become “noise” when we start trying to manipulate them in Gimp.
The solution is either to scan the image in Black & White — my computer calls it “line art” when I connect my scanner — or to use Gimp to convert the image this way. This won’t totally eliminate noise, but it will reduce it a lot.
For all the images I’m providing step by step, click on the image to see it enlarged.
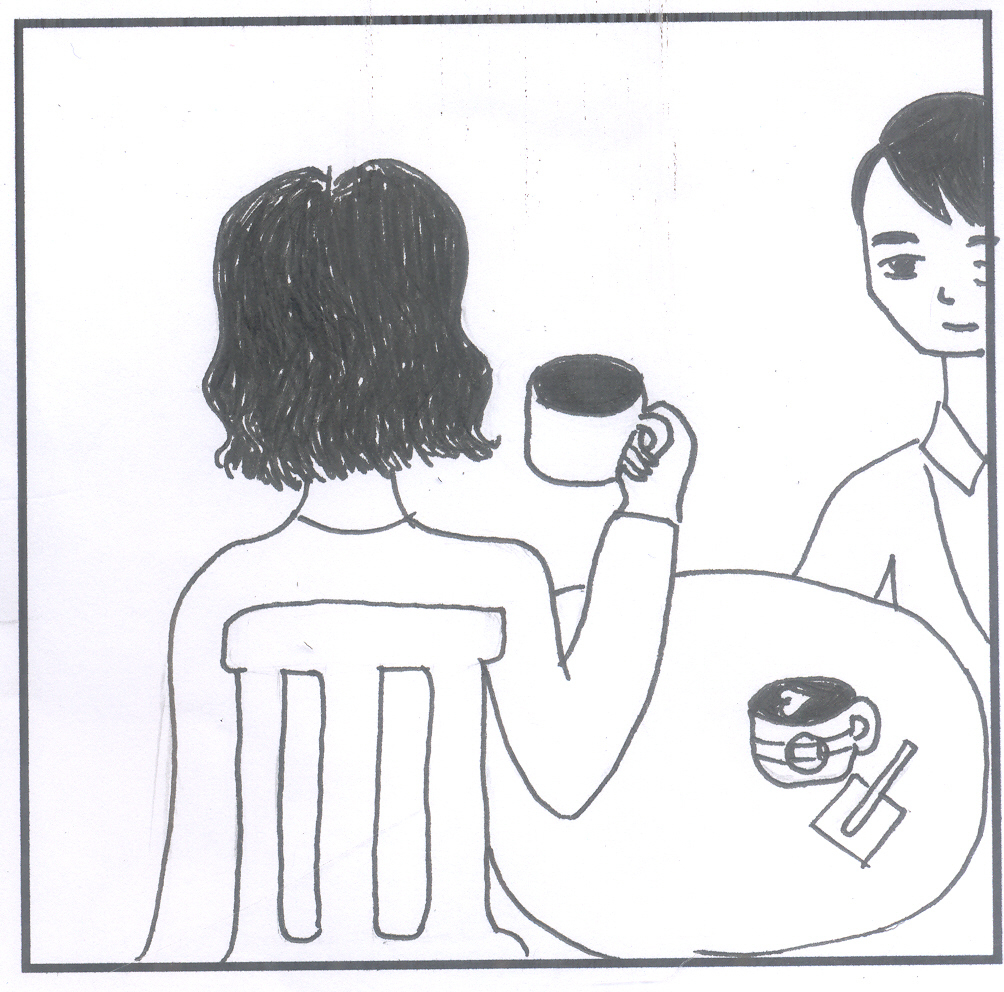
Let’s assume you have an image already scanned in color:
You can change the image by adjusting the “mode” in Gimp. Go to the Image menu and look in the Mode submenu. (The Mode menu, inside the Image menu.) You should choose Indexed…. A popup box will appear, and in the popup box, select “Use black and white (1-bit) palette.”
This will convert the picture to a black-and-white image, ie. a picture containing no color, and not much of the color variance information. So not many of those nasty little spots that bugged us today:

Next, you’ll want to go to save the image (under a new name). You will be asked to export the image after this conversion. You can export it as a grayscale image.
After that, you may need to close the image and reopen it in Gimp. The next thing you should do is go to the Filters menu and find the Artistic submenu. The first filter you will use is the Cartoon… filter. This will help the image by sharpening or thickening some of the lines in the image. You’ll want to experiment with the settings, using the preview window, but since there’s not much grayscale, you can probably get away with high settings and still not have much noise.
After using the Cartoon… filter, the picture I’m working with looks like this:

The next step is to apply the Oilify… filter, which is also located in the Artistic submenu (under the Filters menu). You don’t want to set these settings too high — the effect is a very subtle one. For the picture I’m working with, I used settings very low on the scale — approximate 4 or 6 in the Mask Size and Exponent settings. You may want to experiment to see what gets the best results. After this step, my file looks like this:

Next, it’s a good idea to use the Eraser tool on the Gimp main tool palette to erase any noise-spots. I get this:
 Finally, if you find some of the lines in the picture are still a little weird, you can use the Bump Map filter to thicken them up a little. Under Filters, find the Map submenu and click the Bump Map option. The settings I used were pretty high on the first three settings, with Azimuth at 320.5, Elevation 90.0, and Depth at 11. My result is this:

After you have your file done, save it. We can come back later to add text and so on.
Those are the basics. If you have any questions, let me know! Once I’ve proofread the script and the trailer is finished, I’ll put up a new tutorial about typesetting!